

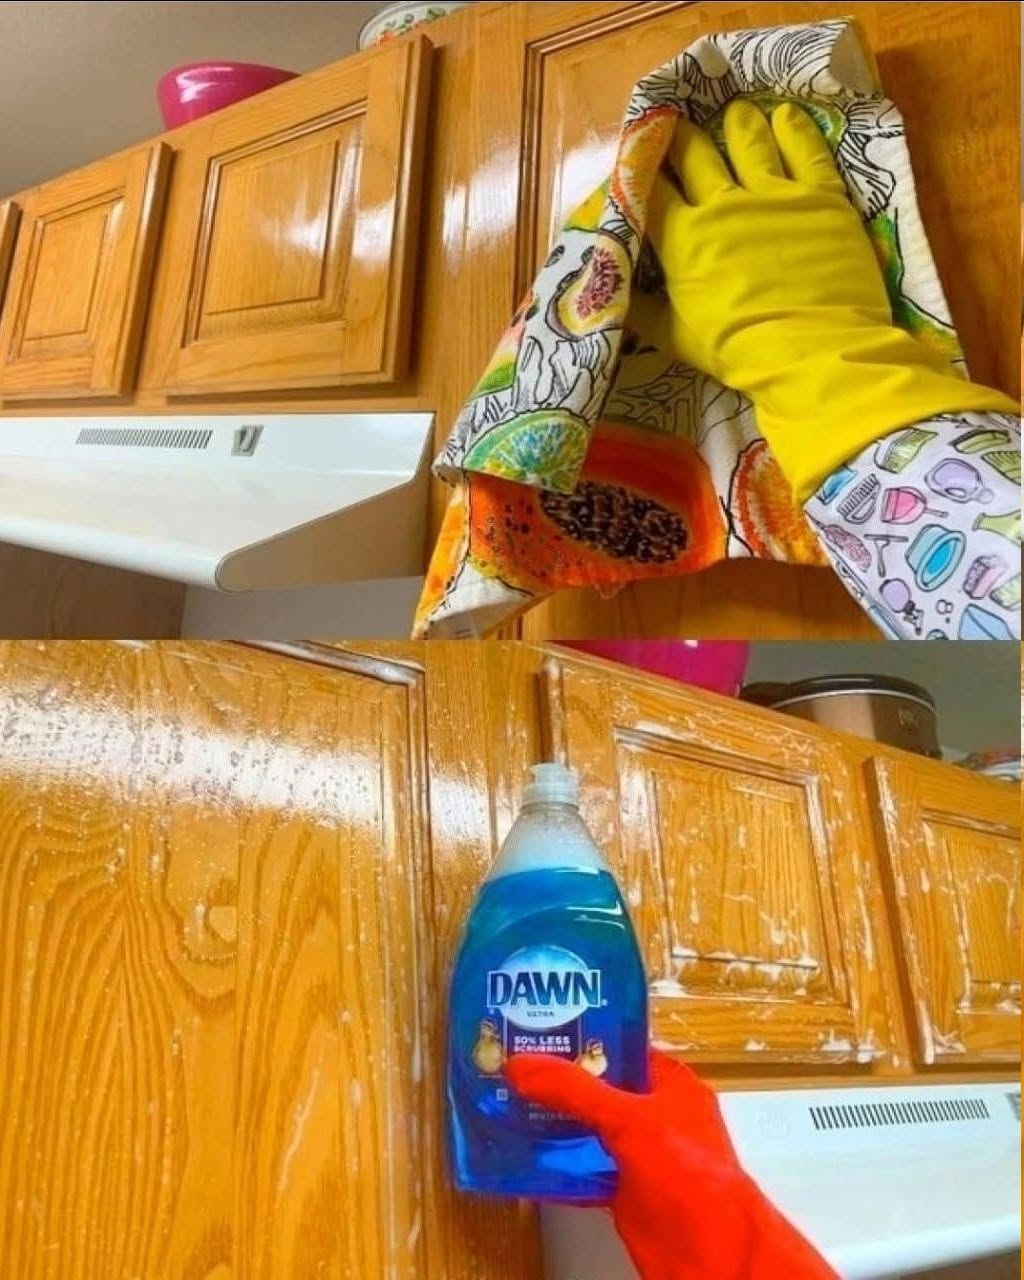
Kitchen cabinets work hard. Every day, they are exposed to steam, grease splatters, cooking oils, dust, and the constant touch of food-coated fingers. Over time, even the most beautiful cabinets can develop a dull, sticky, or grimy film that seems impossible to remove.
The good news is that restoring your cabinets to their original luster does not require harsh chemicals or expensive professional services. With the right approach and a few common household ingredients, you can thoroughly clean dull and grimy kitchen cabinets and keep them looking fresh for years to come.
Why Kitchen Cabinets Become Dull and Grimy
Cause Effect
Grease and cooking oils Airborne droplets settle on surfaces and trap dust and dirt
Steam and humidity Combines with grease to create a sticky film
Frequent touching Fingerprints and food residue build up over time
Harsh cleaning products Can strip finish, leaving cabinets looking dull
Neglected cleaning Buildup becomes harder to remove with each passing month
Understanding the cause is the first step to choosing the right cleaning method for your specific cabinet material.
Identify Your Cabinet Material First
Different cabinet finishes require different cleaning approaches. Using the wrong method can cause permanent damage.
Cabinet Type Cleaning Approach Avoid
Painted wood Gentle, non-abrasive Harsh scrubbers, alcohol, acetone
Stained and sealed wood Mild degreaser; avoid soaking Excessive water, abrasive pads
Laminate Versatile; can handle stronger cleaners Bleach, abrasive powders
Thermofoil (vinyl wrapped) Very gentle; mild soap only Heat, steam, harsh chemicals, scrubbing
Unfinished wood Dry methods; very little water Water saturation, grease-cutting chemicals
Before you begin: Test any cleaner on a small, hidden area (inside a cabinet door or lower corner) to ensure it does not discolor or damage the finish.
What You Will Need
Natural Cleaning Solution (For Most Cabinet Types)
Ingredient Purpose
Warm water Base for dilution
Dish soap (mild) Cuts through grease
White vinegar Dissolves grime and deodorizes (safe for sealed surfaces)
Baking soda Gentle abrasive for stubborn spots
Tools
Tool Purpose
Microfiber cloths Lint-free, gentle cleaning
Soft sponge For general washing
Soft-bristled toothbrush For corners, crevices, and hardware
Squeegee or dry cloth For streak-free drying
Plastic scraper or old credit card For scraping dried-on food (never metal)
For Heavy Grease Buildup (Especially Near Stove)
Ingredient Instructions
1 part vegetable oil + 2 parts baking soda Make a paste; apply to greasy spots; let sit 10 minutes; wipe clean
Rubbing alcohol (diluted) For tough, sticky residue on sealed surfaces only (test first)
Step-by-Step Cleaning Process
Step 1: Clear the Area
Action Why It Matters
Remove items from cabinet tops and countertops Prevents obstacles and contamination
Place a towel on the floor Catches drips
Open windows or turn on ventilation Air circulation for fumes (if using vinegar or alcohol)
Step 2: Remove Hardware (Optional but Helpful)
Hardware Benefit of Removing
Knobs and pulls Allows thorough cleaning of crevices
Hinges (if easily removable) Prevents cleaner from pooling in joints
Soak hardware separately in warm, soapy water while you clean the cabinets.
Step 3: Dust and Dry Wipe First
Action Tool
Wipe all cabinet surfaces with a dry microfiber cloth Removes loose dust, pet hair, and dry debris
Pay special attention to tops of cabinets and crown molding These areas collect the most dust
This prevents turning dust into mud when you apply wet cleaners.
Step 4: Make Your Cleaning Solution
For Most Cabinets Ratio
Warm water 2 cups
Mild dish soap 1 tablespoon
White vinegar (optional, for grease) ¼ cup
Mix in a bowl or spray bottle.
Step 5: Wash Cabinets from Top to Bottom
Order Why
Top of cabinets Dust and grime fall downward
Crown molding
Upper cabinet doors and frames
Lower cabinet doors and frames
Baseboards and toe kicks
Technique:
Dip a soft sponge or cloth into the solution
Wring thoroughly (cabinets should be damp, not wet)
Wipe in the direction of the wood grain (if applicable)
Rinse and wring the cloth frequently
Step 6: Tackle Stubborn Grease and Grime
For areas near the stove or range hood:
Method Instructions
Baking soda paste Mix baking soda with a few drops of water to form a paste. Apply to greasy spots. Let sit 5–10 minutes. Wipe gently with a damp cloth.
Vinegar spray Spray white vinegar directly on sticky residue. Let sit 2–3 minutes. Wipe clean.
For corners, crevices, and detailed trim:
Dip a soft-bristled toothbrush in the cleaning solution
Gently scrub into tight spaces
Wipe away loosened dirt with a damp cloth
For Complete Cooking STEPS Please Head On Over To Next Page Or Open button (>) and don’t forget to SHARE with your Facebook friends