
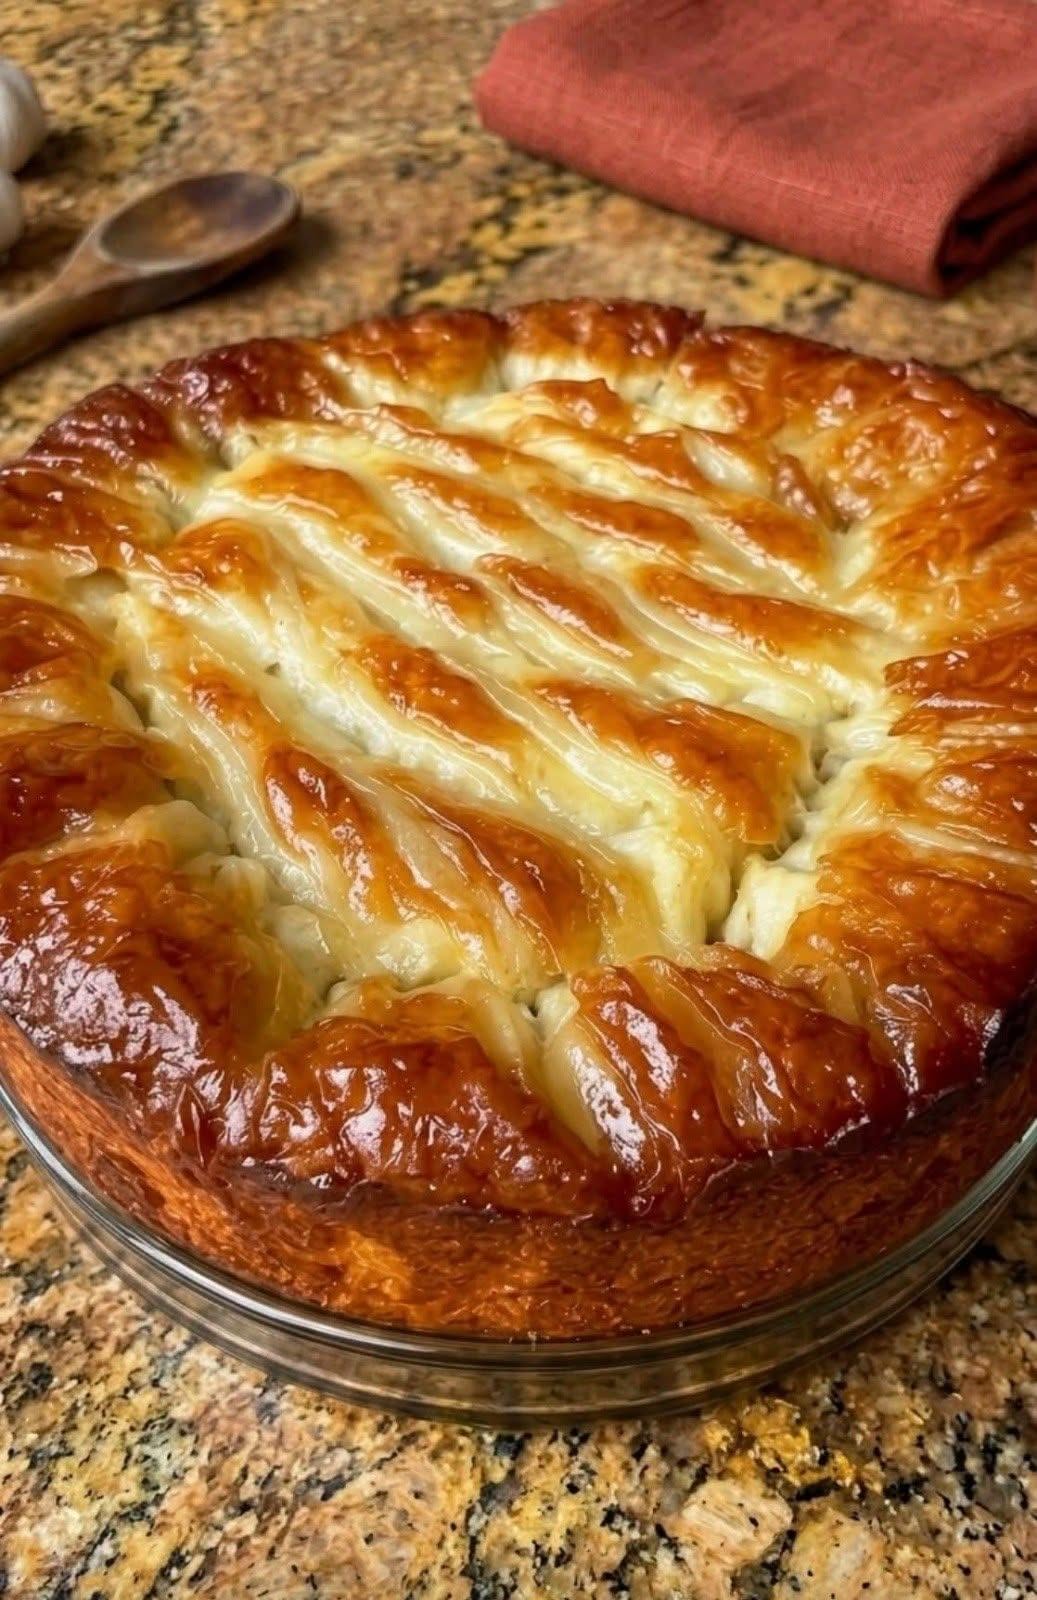
A Snowy, Cracked Exterior Hiding a Rich, Brownie-Like Interior — The Ultimate Comforting Bake
 Recipe At a Glance
|
Detail
|
Information
|
|---|---|
|
Prep Time
|
15 minutes
|
|
Bake Time
|
30–35 minutes
|
|
Total Time
|
~1 hour (plus cooling time)
|
|
Yield
|
9–12 generous squares
|
|
Difficulty
|
Easy (Beginner-friendly, one-bowl batter)
|
|
Equipment
|
8×8 or 9×9-inch baking pan, whisk, fine-mesh sieve
|
|
Dietary Info
|
Vegetarian; easily adaptable for Gluten-Free or Dairy-Free
|
 Why You’ll Love This Recipe
|
Feature
|
Benefit
|
|---|---|
|
Iconic Look, Zero Stress
|
The beautiful cracked top happens naturally as the cake cools. No decorating skills required!
|
|
Fudgy, Rich Texture
|
Strikes the perfect balance between a moist cake and a dense, brownie-like treat.
|
|
Pantry Staples Only
|
No fancy ingredients or specialty equipment needed.
|
|
Make-Ahead Friendly
|
The crinkles actually set and look better after sitting for a few hours or overnight.
|
|
Highly Customizable
|
Easy to adapt with peppermint, espresso, or citrus flavors.
|
|
Crowd-Pleasing
|
A universal favorite that disappears quickly at any gathering.
|
Key Insight: The magic of the crinkle effect relies on timing and temperature. Dusting the cake with powdered sugar while it is warm (not piping hot, not completely cold) allows the sugar to melt just a tiny bit into the surface, creating those perfect, web-like cracks as it fully cools.
 Ingredients You’ll Need
For the Fudgy Cake:
🛒 Ingredients You’ll Need
For the Fudgy Cake
Ingredient
Amount
Pro Tips
All-purpose flour
1 cup
Spoon and level to avoid a dense cake.
Granulated sugar
1 cup
Provides structure and the classic sweet chocolate flavor.
Unsweetened cocoa powder
½ cup
Dutch-processed is highly recommended for a darker color and smoother, less bitter flavor.
Baking powder
1 tsp
Gives the cake a slight, tender rise.
Salt
¼ tsp
Essential for balancing the sweetness and enhancing the chocolate.
Large eggs
2, room temperature
Room temp eggs incorporate more smoothly, creating a better texture.
Vegetable oil
½ cup
Oil keeps the cake incredibly moist and fudgy (more so than butter).
Vanilla extract
1 tsp
Pure vanilla extract deepens the overall flavor profile.
Hot water or hot coffee
½ cup
Hot liquid “blooms” the cocoa powder, making the chocolate flavor much richer.
For the Crinkle Topping
Ingredient
Amount
Pro Tips
Powdered sugar
½ to ¾ cup
Must be confectioners’ sugar. Sift it first to prevent lumps.
👩🍳 Step-by-Step Instructions
1. Prep the Oven and Pan
Preheat your oven to 350°F (175°C).
Line an 8×8-inch or 9×9-inch baking pan with parchment paper, leaving an overhang on two sides for easy removal. Lightly grease the exposed sides of the pan.
2. Whisk the Dry Ingredients
In a large mixing bowl, whisk together the flour, granulated sugar, cocoa powder, baking powder, and salt until well combined and no cocoa lumps remain.
3. Mix the Wet Ingredients
In a separate medium bowl, whisk the eggs, vegetable oil, and vanilla extract until smooth and slightly frothy.
4. Combine and Bloom the Cocoa
Pour the wet ingredients into the dry ingredients. Stir with a spatula until just combined (the batter will be very thick).
Carefully pour in the hot water or hot coffee. Whisk gently until the batter is smooth, glossy, and slightly thinner. (Don’t worry if it looks a bit loose; this is exactly how it should look!)
5. Bake to Fudgy Perfection
Pour the batter into the prepared pan and smooth the top.
Bake for 30 to 35 minutes.
⚠️ Crucial Step: Do not overbake! A toothpick inserted into the center should come out with a few moist crumbs attached, not completely clean. The cake will continue to set as it cools.
6. The Crinkle Magic
Remove the cake from the oven and place it on a wire rack.
Let it cool for 15 to 20 minutes. The cake should be warm to the touch, but not hot.
Using a fine-mesh sieve, generously dust the entire surface of the warm cake with the powdered sugar. Don’t be shy—a thick, even layer is what creates the best crinkles.
Allow the cake to cool completely in the pan. As it cools, the sugar will naturally crack and settle into that beautiful, rustic crinkle pattern.
💡 Pro Tips for Perfection
Don’t skip the hot liquid: The hot water or coffee is not just for moisture; it “blooms” the cocoa powder, releasing its full, deep chocolate flavor. If you use coffee, don’t worry, it won’t taste like coffee—it just makes the chocolate taste more like chocolate!
Sift the powdered sugar: Clumpy powdered sugar will ruin the smooth, snowy look. A quick pass through a sieve ensures a flawless finish.
Patience is key: The crinkles won’t fully form until the cake is completely at room temperature. Resist the urge to cut into it immediately!
🌟 Delicious Variations
Craving
How to Make It
Peppermint Crinkle
Add ½ tsp of peppermint extract to the batter and sprinkle crushed candy canes over the powdered sugar.
Espresso Mocha
Use hot brewed espresso instead of water, and add 1 tbsp of instant espresso powder to the dry ingredients.
Orange Chocolate
Add 1 tbsp of fresh orange zest to the batter. Chocolate and orange are a classic, vibrant pairing.
Dairy-Free
Use a dairy-free butter alternative or a neutral oil, and ensure your cocoa powder is certified dairy-free.
Gluten-Free
Swap the all-purpose flour for a 1:1 gluten-free baking flour blend.
🧊 Storage & Make-Ahead Instructions
Room Temperature
Store the completely cooled cake in an airtight container at room temperature for up to 3 days. The powdered sugar will absorb a tiny bit of moisture over time, making the top even more fudgy and delicious.
Fridge
For a firmer, more brownie-like texture, store it in the fridge for up to 5 days. Let it sit at room temperature for 15 minutes before serving to soften slightly.
Freezer
To Freeze: Once completely cooled, wrap the entire pan (or individual slices) tightly in plastic wrap, then a layer of aluminum foil. Freeze for up to 2 months.
To Thaw: Unwrap and let it thaw at room temperature for 1–2 hours. You can add a fresh, light dusting of powdered sugar before serving to refresh the look.
❓ FAQs: Your Questions, Answered
Q: Why didn’t my cake crinkle?
A: This usually happens for two reasons: 1) The cake was completely cold when you dusted it (the sugar needs a little warmth to adhere and crack), or 2) The layer of powdered sugar was too thin. Next time, dust it while it’s slightly warm and be generous with the sugar!
Q: Can I use melted butter instead of oil?
A: Yes, but the texture will be slightly more “cake-like” and less “fudgy.” Oil is the secret to that rich, moist crumb that mimics a brownie.
Q: Can I bake this in a 9×13-inch pan?
A: Yes! The bake time will be shorter, around 20–25 minutes. Keep a close eye on it and check for moist crumbs early.
Q: Does it have to be chocolate?
A: While chocolate is the classic, you can make a Lemon Crinkle Cake by omitting the cocoa, adding 2 tbsp of lemon juice and 1 tbsp of lemon zest to the wet ingredients, and dusting with powdered sugar. It’s bright, tangy, and beautiful!
📋 Quick-Reference Action Plan
Before You Bake
- Preheat the oven and line your pan with parchment paper.
- Sift your powdered sugar now so it’s ready for the warm cake.
- Have your hot water or coffee ready to go.
During Baking
- Mix the batter just until smooth; do not overmix.
- Check the cake at the 28-minute mark. It should have moist crumbs on the toothpick.
The Crinkle Finish
- Let the cake cool for 15–20 minutes (warm, not hot).
- Dust heavily and evenly with powdered sugar.
- Let it cool completely before slicing to allow the crinkles to set.
 A Compassionate Mindset: Baking with Joy, Not Pressure
Affirmation: “I bake to bring joy, not to achieve perfection. My efforts are enough, and my desserts are made with love.”
 Final Thought: The Magic of Simple Comfort
“The best recipes aren’t about complexity. They’re about the warmth, nostalgia, and simple joy they bring to the table.”
ADVERTISEMENT